This past weekend we had a large amount of heirloom Persimmon and Beaver Lodge Plum tomatoes sitting on the table begging to be used before spoiling. I decided it was time to can tomato soup. On a cold winters day nothing is better than to come home to a warm bowl of soup. Even better, after working all day and coming home to shoveling snow we will enjoy having quarts of tomato soup on the pantry shelves just waiting to be heated and served with a Jarlsberg grilled cheese sandwich and maybe even a glass of red wine to warm the heart.
Tomato Soup
1 medium onion, diced
1 stalk celery, diced
2 carrots, diced
4 cloves garlic, minced
1 quart whole tomatoes (or 28 oz. can, if store bought)
14 oz. chicken stock
2 teaspoons dried basil
1 teaspoon dried parsley
salt and pepper to taste
Saute' onion and celery in olive oil until translucent. Add garlic and saute' for another minute or two, watch close garlic burns quickly. Add tomatoes, crushing with spoon, then chicken stock and herbs. Salt and pepper to taste and simmer for 20 to 30 minutes. Finish soup by blending with a hand blender until partially smooth, leaving a few chunks of tomato.
This is the recipe I made up on the fly last winter and we loved the small chunks of tomato and the light garlic flavor. The color is not bright red because the Persimmon tomatoes are yellow, there are carrots in the soup to add sweetness, and of course, the chicken stock. This weekend I used my large stock pot and made five times this recipe. Since I knew I wanted this soup ready to heat and serve and the recipe has several vegetables and chicken stock in it, I needed to use the pressure canner.
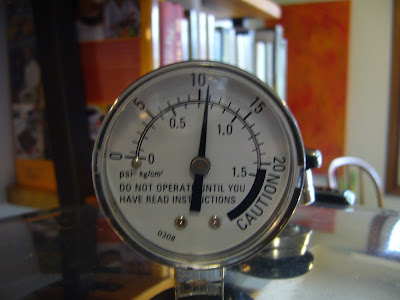
Pressure canning is no problem, in fact I prefer it because it takes less time and doesn't put as much steam into the air. I pressure canned this soup for the same about of pressure and time as I did for the chicken soup and chicken stock I canned: 11 pounds pressure for 25 minutes.
Every time I pressure can I take a look at the instructions again, never taking for granted that I remember all the steps. I have highlighted the ones I need to review and so it only takes a few seconds to look them over before starting. The instruction booklet also has the pounds of pressure and time needed for each type of food.
When I first started pressure canning, I was hesitant, I had heard the horror stories my grandma told of her mother's cooker exploding. Pressure canners have come a long way since then and I have found that it is not a process to be intimidated by at all, there are built in safety features. Just follow the directions, keep an eye on the pressure, turning the heat up or down to keep it as constant as possible, and enjoy the shorter processing time.


