Tuesday, September 7, 2010

A Peck of Pickled Peppers


Pickled Hot Peppers
recipe from the Putting Food By cookbook

4 quarts peppers
4 cups vinegar
4 cups water
4 teaspoons salt
Olive Oil (optional), I leave this out

Wash peppers thoroughly.  Remove core, seeds, and stems of large peppers. (I leave them in the jalapenos, as you can see from the photos, we want the spice.)  Cut as desired, or leave whole after coring.  The small, hot peppers may be left whole with stems intact.  Make 2 small slits in whole peppers.

Mix vinegar and water; heat to 150 - 160 F. / 66 - 71 C. about to the simmering point.  Since it is rather volatile, vinegar should not boil a long time.  Pack peppers rather tightly into jars.  Pour hot vinegar and water over the peppers to 1/2 inch of jar rim.  If oil is desired, add vinegar to only 3/4 inch of jar top.  Add olive oil to come 1/2 inch from top.  The peppers will be coated with oil when they pass through the oil layer as you use them.  Add salt to taste, seal, and process 15 minutes in simmering (180 - 185 F./82 - 85 C.) hot water bath.


Thursday, September 2, 2010

Learning to Live a Simple Life


Over the weekend I was visiting with a woman who said she was 79 years old and had always lived a simple life.  She and her husband farm still, along with their son.  She has always had a garden and put up produce for winter use.  They relied on that garden to see them through the winter.  If it was a bad year for a particular vegetable they went without that year.  There was no running to the grocery store for whatever they desired at any given moment.  They planned ahead and made do with what they had.


She still gardens and preserves, we compared notes on how our gardens did this year and what produce we had put up.  There is so much to learn from those who have lived a simple life for many years; they know how to do it.  It is a way of life for them, not the latest trend, so they have settled into the routine and are comfortable with their life.


She agreed that this had been a good year for cherry tomatoes and told me she freezes them whole.  I too have frozen cherry tomatoes whole and used them in pastas.  However, she said she likes to use them in soups, the skins float to the top and can be picked out; a terrific idea.

Cabbage is a vegetable she grows or gets from her neighbor.  To be able to make cabbage rolls in the winter, she said she blanches the cabbage leaves, cuts out the tough rib, rolls the leaves and places them in freezer bags.  When she is ready to make her cabbage rolls, she thaws the leaves thoroughly, unrolls and stuffs them.  Another idea I will be putting into practice.  My cabbages have been used for making sauerkraut and one dish of cabbage rolls, however, the farmer's market will have cabbages that I can blanch and freeze, and we will still be eating from a local food source.


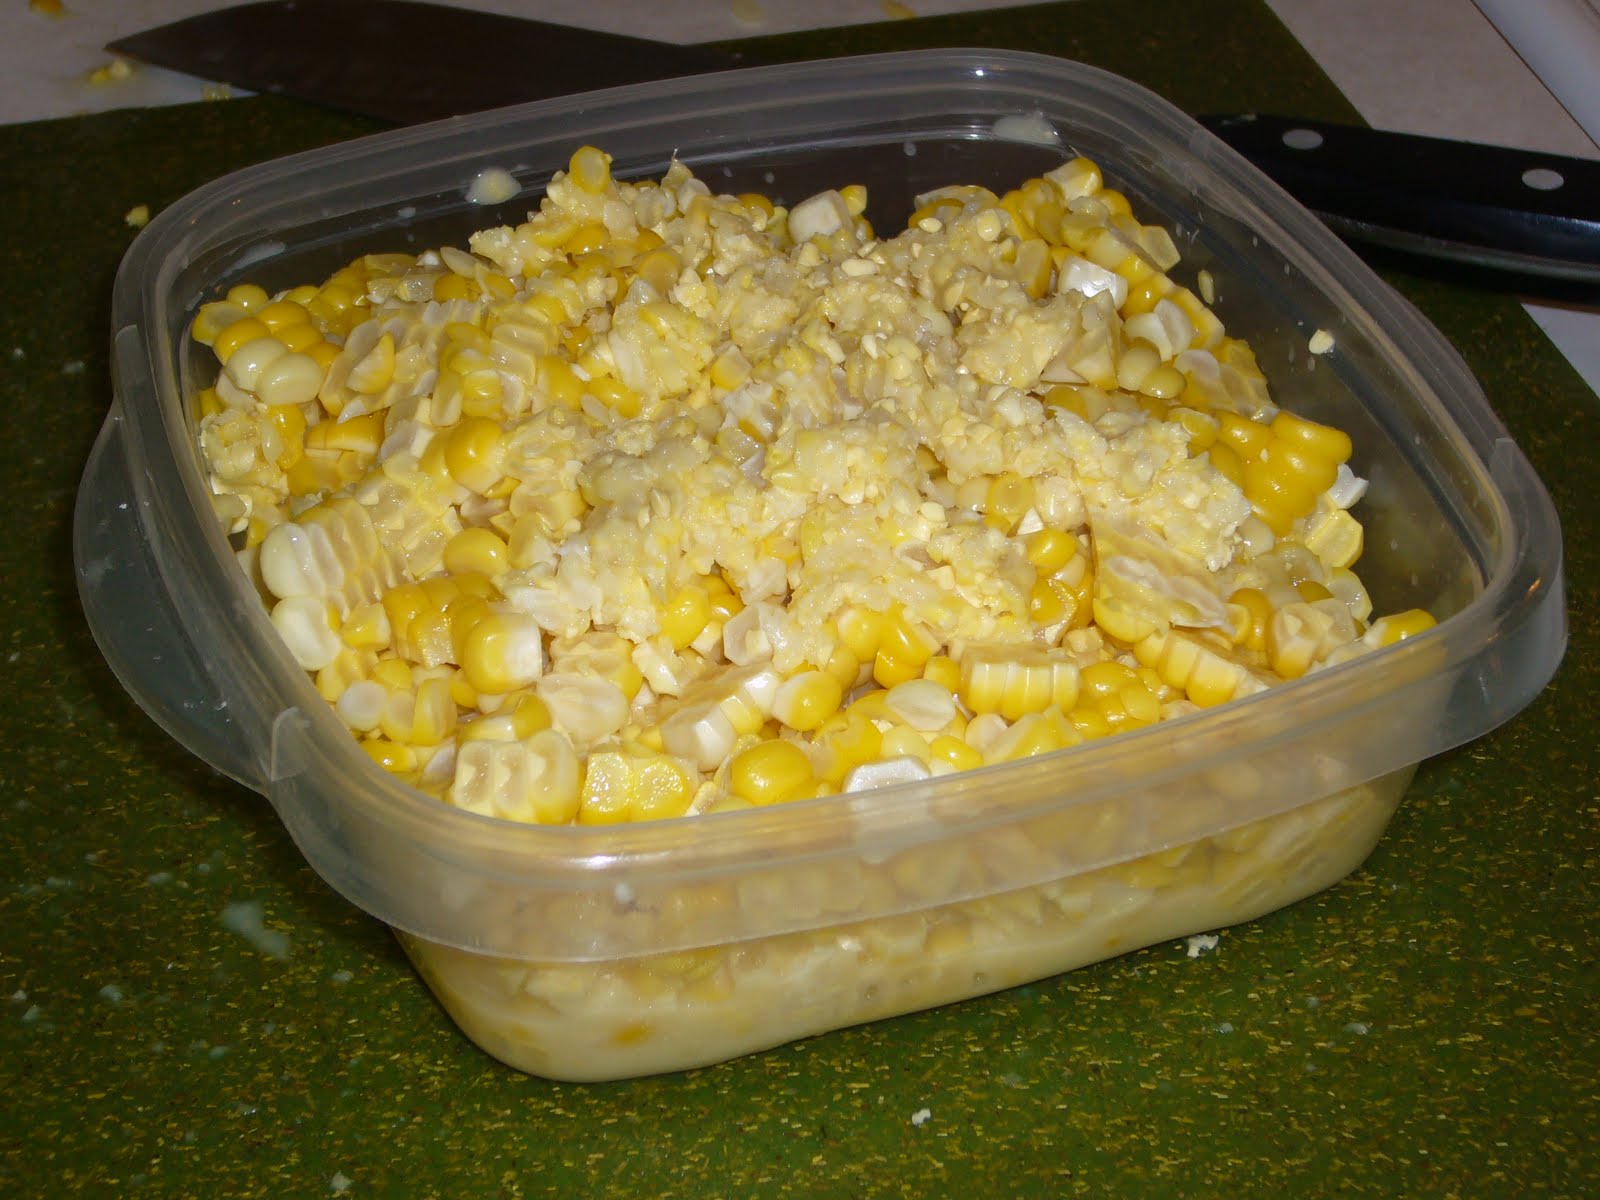
When I was young and living at home my mother taught me how to cream the corn as it was taken off the cob to be frozen for eating later.  This is a simple process and tastes so amazing, even in the middle of winter, with the corn off the cob, it has the fresh taste of just picked corn.  We don't have a lot of freezer space so leaving all the corn on the cob is not an option, but we don't mind.  We prefer our corn on the cob grilled rather than boiled anyway, so in the winter this creamed corn is the way to go.  Now this is not creamed corn like you buy in a can, not at all.  In fact when I went to school I could not figure out why all the kids hated creamed corn, until I tasted canned cream corn for the first time, it was disgusting and nothing like what I called creamed corn.


Start by blanching the corn in boiling water for one minute, then plunging it into ice cold water to stop the cooking process, then you are ready to cut it off the cob, creaming it as you do so.  To cream the corn while taking it off the cob simply set your knife slightly away from the cob, cutting about half to two-thirds of the corn kernal off the cob.  Then go back to the cob and run your knife up the cob, scraping the bits of corn and milky juices off.  This works very well if the corn is not overripe, there will be lots of milky juice.


Store the corn in freezer containers or bags in the serving size you need for your family; it will be frozen as one mass.  Then when ready to cook just place the frozen or thawed corn in a pan and slowly heat, rarely do I need to add water, there is usually enough milky, sweet, juices.  You will begin to crave corn like this, it is so good.

Living simply used to be the way most everyone lived.  Life has become fast paced and fast food.  Expecting to have what we want, when we want it.  We have forgotten how to live simply and how good a way of life it can be.  There are those among us who still live a simple life, we need to take the time to learn from their wealth of experience.

Tuesday, August 31, 2010

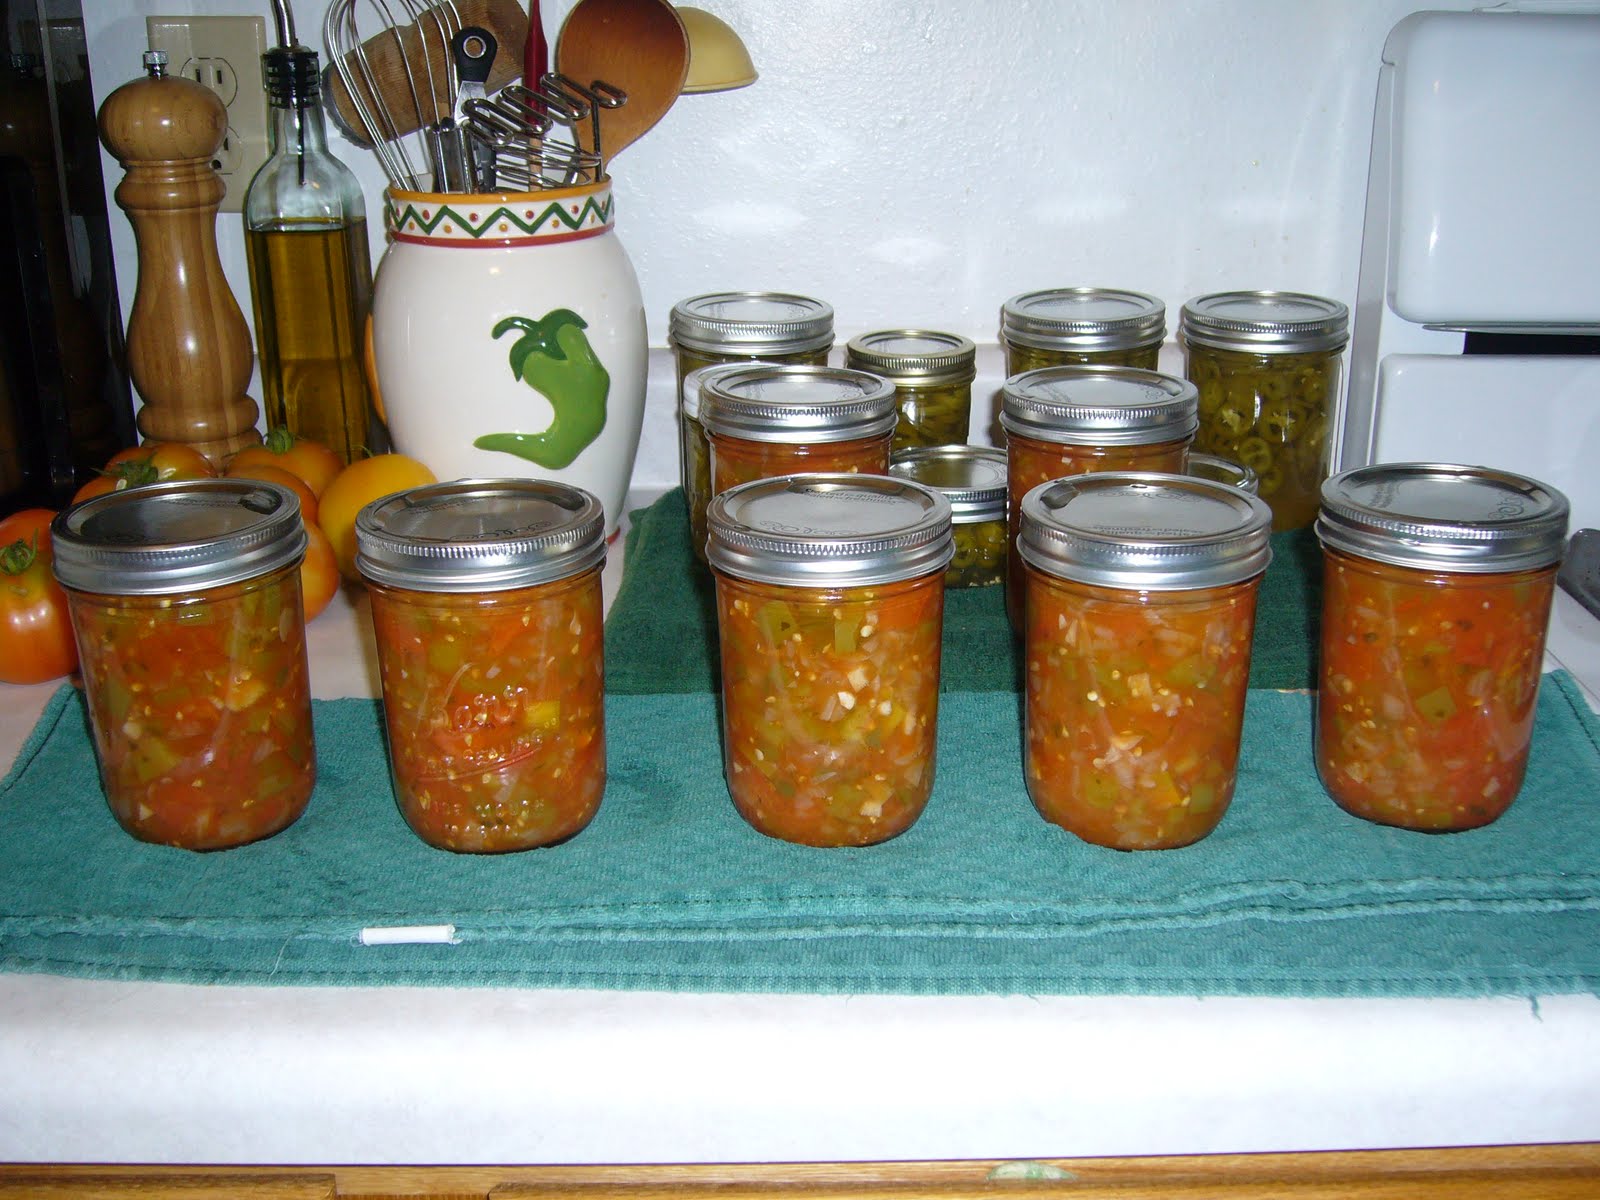
Canning Zesty Tomato Salsa


Zesty Salsa
~from the Presto Pressure Canner instruction booklet~

10 cups, chopped, seeded, peeled, cored tomatoes (about 6 pounds)
5 cups chopped and seeded long green peppers (about 2 pounds)
5 cups chopped onions (about 1 1/2 pounds)
2 1/2 cups chopped and seeded hot peppers (about 1 pound)
1 1/4 cups cider vinegar
3 cloves garlic, minced
2 tablespoons cilantro, minced
1 tablespoon salt
1 teaspoon hot pepper sauce (optional)

Combine all ingredients in a large saucepot, adding hot pepper sauce, if desired.  Bring mixture to a boil.  Reduce heat and simmer 10 minutes.  Ladle hot salsa into hot, sterilized jars, leaving 1/4 inch headspace.  Adjust two piece caps.  Process 15 minutes using the boiling water canning method.

Yield: 6 pints


Thursday, August 26, 2010

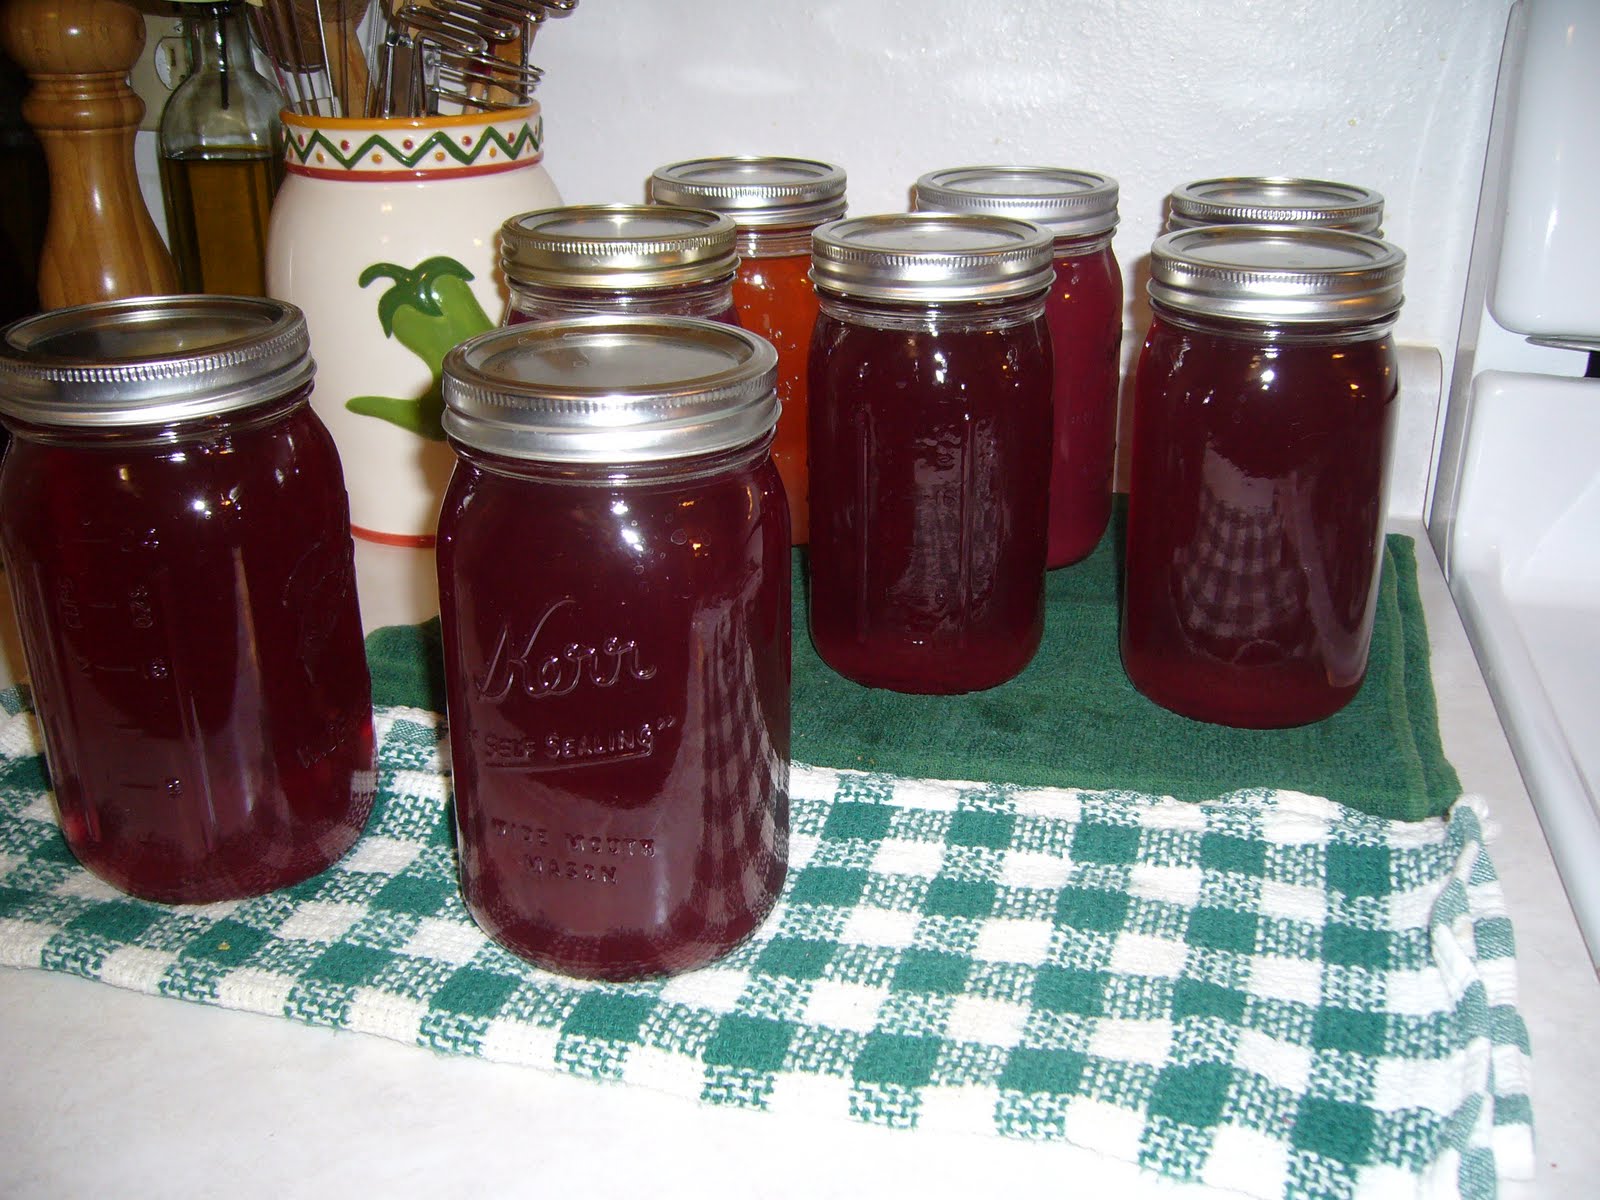
Homemade Plum Juice


The plums are ripe on the trees now and there is no way we can eat them all fresh before they go bad.  I don't want to see them go to waste so I have been making plum juice every evening this week.  I did the same with apples last year and we had delicious fresh tasting apple juice all winter.  It saves a considerable amount of money, we still buy orange juice once in a while during the colder months, but with our homemade juice in the pantry we don't buy nearly as much.  Plus I just don't like to see food go to waste.  Just like the abundant produce I gather from the garden, often it is more than we can eat so I save it for later using the method that produces the best results, whether that be canning, drying, freezing or fermenting.  These plums are best for juicing or making jelly.  I tried cutting them in half to dry some, but they are mostly juice inside with a tough, sour skin and they just turned to mush in my hand.  We have enough homemade plum, cherry and apple jelly to last us through the year, so juice it is.  

Making juice with a steam juicer, is a simple process, first the fruit is washed.


Then water is poured into the basin at the bottom of the juice steamer and the fruit is placed in the colander at the top of the steamer with a little sugar.  As the steam rises the fruit heats up and juice runs out of the colander into the pan below.


Steaming juice then flows out the attached hose and into a steralized jar, a prepared lid and band are placed on top and as the juice cools the lids seal and the juice is canned and ready to be stored for winter.

The fruit in the colander is reduced to a small pile at the bottom of the colander,  I place this in the compost bin.


I am able to get between 3 and 4 quarts of juice from each batch of plums, apples don't provide quite as much juice, usually 2 to 3 quarts per batch.  I find it interesting how the color of the juice changes after it cools.  Above is the batch I did Tuesday evening just before I took the picture.  Below are the jars of juice I processed on Monday evening, going from red to pink as it cools.